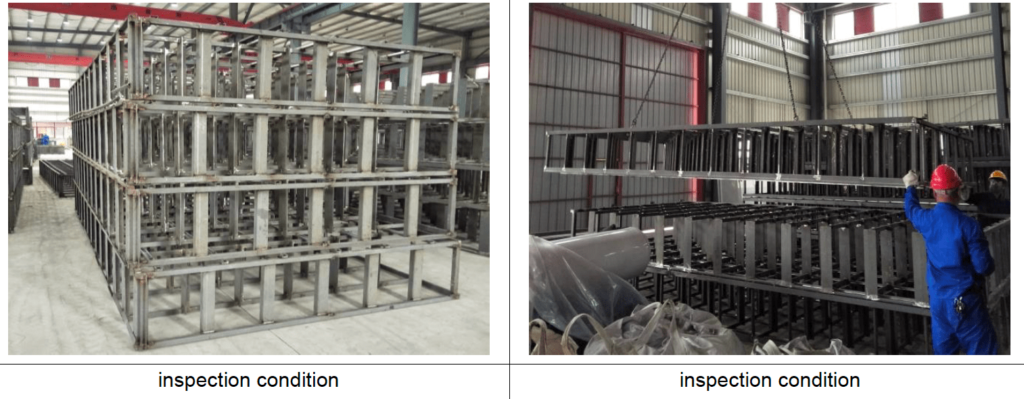
Industrial goods, including structural steel products, automotive parts, heavy machinery, and equipment, are all products that may be subject to welding defects. Any errors in the welding process not only cause the sourced products to fail but can also place them as safety hazards.
Third party welding inspections are a cost effective solution to verify whether the welding processes and the overall products comply with industry standards, contractual requirements, and quality standards. In this article, we will examine the general process for inspecting welding during a third-party inspection.
Why Is Third Party Welding Inspection Required?
Third party welding inspection companies provides you with an unbiased assessment of the product quality and adds an extra layer of credibility. This may be particularly important in the context of cross-border trade, as suppliers overseas may vary in terms of quality standards. The third party inspection will help you maintain welding quality control and confirm to you whether or not the welding conforms to industry standards and contractual requirements, and help you identify any defects or inconsistencies – at the supplier.
Depending on the industry or regions in which you are operating, it may also be a requirement to ensure that the welding conforms to various international standards like ASME, API, and others.
Third Party Welding Inspection Plan
HQTS has years of experience performing welding inspections, both on-site in projects such as construction, oil and gas, and also at the source in the factory. While the simplified third party welding inspection checklist in this article will give you a general idea, it’s important to note that the inspection criteria are often customised based on specific requirements.

Here’s a general rundown of our approach:
1. Quantity Verification
Most of the time, the welding inspection is performed at the pre-shipment inspection stage when the goods are 80-100% completed. The inspector will count the quantity of the order to ensure that it is consistent with the purchase order.
2. Visual Weld Inspection
In this phase, the inspector conducts a welding visual inspection to assess the overall quality of the weld using tools like magnifying glasses and weld gauges. This includes:
- Weld profile (size, shape, and consistency)
- Alignment and distortion
- Surface conditions, such as cracks, undercuts, overlaps, and spatter
- Completeness and conformity to the drawings and specifications

In this scenario, the inspector found several defects, including:
- Welding deformation
- Compression deformation
- Surface porosity
- Poor welding on REJ
- The welding material was not strong enough
- Oil stains on the surface

3. Dimension Verification
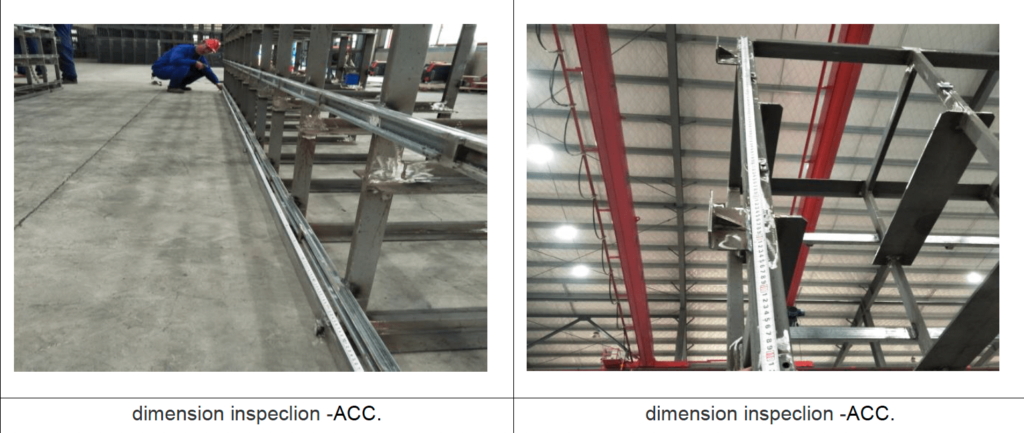
The inspector will perform verification of the physical dimension using calibrated measuring devices or precise tools, like rulers and weighing scales. The inspector will verify that the dimensions and weight, as well as the alignment of the welded components, meet the specified requirements using visual inspection. Here’s a more in-depth look at this aspect:
- Weld Size: Confirm that the dimensions of the weld bead align with design specifications, including length, width, and height.
- Alignment and Fit-Up: Check for the correct alignment and fit of the components, ensuring that the joint’s gap, angle, and bevel are as specified.
- Distortion Verification: Measure any allowable shrinkage, bending, or warping within defined tolerances.

Conclusion: Third Party Welding Inspections
Third party inspection on welding provides you with an unbiased, objective assessment, verifying that weldments align with international quality norms, industry-specific regulations, and client specifications. In this article, we’ve outlined a simplified version of an inspection on welding. It’s important to note the actual procedure may drastically vary depending on the materials that are being subject, client requirements, and industry standards.
If you have any questions about third party welding inspections, feel free to contact HQTS. We are a CNAS ISO-accredited third-party quality control company with over a decade of experience, offering services from auditing your intended supplier, third party inspection on welding, to consultancy across more than 40 different countries globally in the world.


